
We came across a lot of queries regarding how one can write NTFS files on Mac. The writing feature wasn’t available to macOS. Only reading was allowed in it while renaming, editing, or deleting files wasn’t part of it. The same issue you will face in the new macOS 11, Big Sur where no writing is permitted.
There was news in which the M1-equipped MacBook users could not even see the NTFS files although the drive could be opened. NTFS is known by its full form New File Technology System and is exclusively possessed by Microsoft. This file system has been used for maintaining, editing, and reading data on memory cards, pen drives, and on external drives.
If Apple will start using the same system, it would require to pay a heavy license fee to the company Microsoft. The thing you need to be aware of is that in case you have an external hard drive in the NTFS format, you will need to know how to enable NTFS writing on Mac.
Different Ways to Write NTFS Files in Mac

1. Changing the settings of terminals on the Mac:
You need to have the knowledge of basing coding if you want to use this option. Open the Apple terminal by altogether pressing “space bar” and the “command” button. Now you are required to type in the word terminal and then press the enter button.
You will soon find out that this is not an easy task at all. If you are not a professional or skilled in technology, then we will suggest you leave this task. There is another reason for why we do not recommend this option as the native NTFS writing support is tested and it has the risk to lose its data. You can try using the below other options which will keep your files as well as Mac protected.
2. Using NTFS designed for the Mac software:
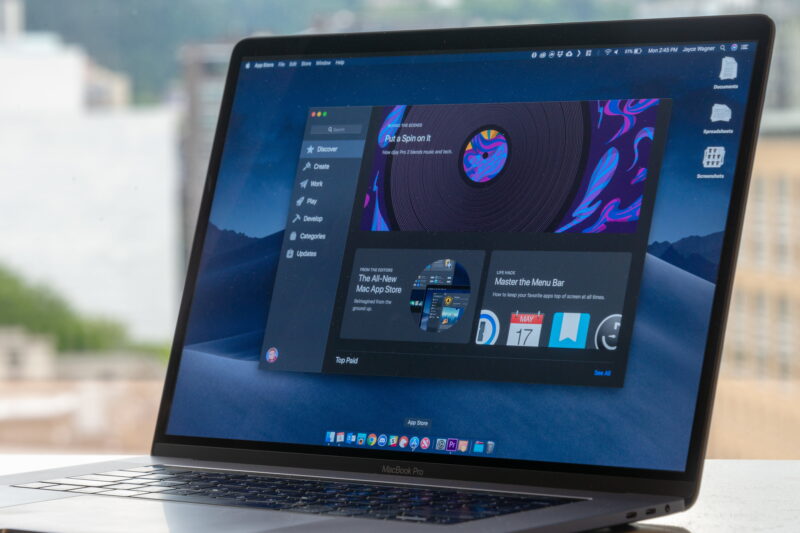
Thousands of MacBook customers from all over the world prefer using this way because of its simplicity. However, you will not be able to see every New File Technology Systems (NTFS) for Mac software performing with macOS Big Sur. It means that you have only a few options left to use as a third-party NTFS provider designed specifically for Mac. It allows you to read as well as write NTFS files on the macOS.
Get New File Technology System for Mac Software from iboysoft.com that is reviewed by many users globally and is said to have 100% adaptability with the Macs that are processed with M1 chips and the latest macOS Big Sur. Here’s how you can work with it:
- First, download the app and install Microsoft NTFS for Mac by iBoysoft on your Mac.
- Next, you’ll need to connect the NTFS drives to your Mac. Note that the drive will automatically get mounted in read-write mode.
- You can now swiftly move, write, copy, save, and delete files to NTFS drives.
Easy and quick, right?
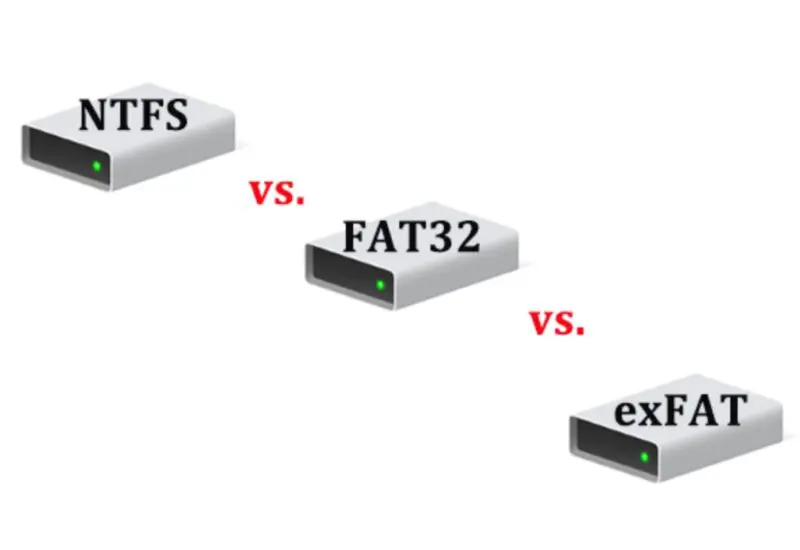
3. Using a FAT/ex-FAT format for the hard drive:
You can extend the reading and writing capabilities of Apple to the FAT format, which simply means File Allocation Table. FAT as well as its latest version exFAT is adaptable to read-write tasks on the Mac software. The only problem that you may face with this format is that it won’t be able to take files that exceed the limit beyond 4GB. Well, it is a sort of bad news for the video editors and designers.
The newer version of FAT format i.e. the ex-FAT format is not a safer option if you want to transfer the files. Many people have reported the instances in which their files got deleted or corrupted while transferring from the New File Technology System (NTFS) to the ex-FAT.
To use this option, check out the following steps:
- First of all, backup all the files on your Apple system.
- Now, go to the Disk utility app.
- Find the NTFS hard drive (connected externally to your Mac) in the Left list of the disk.
- By right clicking on the drive, select the erase option. Else you can also select the disk option and then tap the erase option that appears at the top toolbar of the window.
- Now, write the name, choose the format (exFAT or FAT) and also the scheme.
- Tap the erase button that appears in the pop-up for confirmation.
To Sum Up
If you do not have much time to invest and want a hassle solution, then go for the third-party NTFS software option. iBoysoft NTFS for Mac is a great option to be chosen as a third-party software provider. Let us know in the comments below, if you want any other information about writing to NTFS files on macOS.