
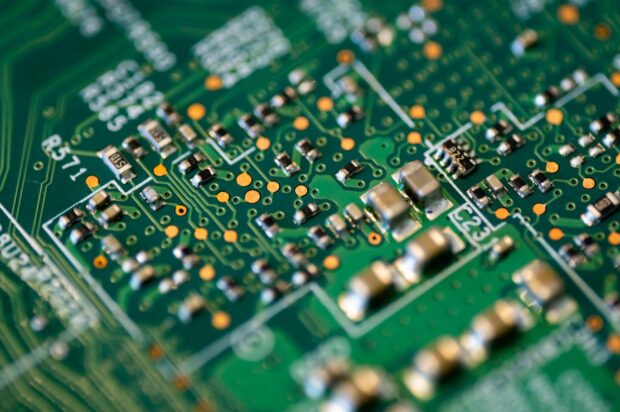
Every college electronic project starts with the PCB design. It’s the heart and soul of the project and thus, requires perfection.
So, here are a few super helpful tips for beginners to help you create a perfect PCB design.
1. Start with the Schematic
The electronic schematic is the first and most crucial step in designing a printed circuit board. Beginners often design the schematic diagram with pen and paper. However, you can skip that and jump straight to the digital design via different software.
Autodesk Eagle, KiCAD, and EasyEDA are some of the most popular design tools professionals use. Beginners too can use them for designing the PCB. You need not explore the more advanced features the software provides. Sticking to the basic ones will be enough for now.
Experts like MJS Designs make full use of designing software for creating and analyzing a PCB layout. They work out the overall design and mechanism through the 3D visualization they get from the software. That further allows them to avoid errors and faulty connections.
When you start designing, you must first assemble all the electronic components to see if they work. Be sure to use names and values to mark the components and connections. Also, use observation notes if you can. These are basic PCB design principles that even the most professional designers have to follow.
Organize the layout in blocks as it helps you take a modular approach to design the whole thing. You can organize the blocks as per their functions and even test them out individually.
2. Make Sure You’re Using Grids
Artists and designers rely on grids to ensure that their work is perfect. Grids are also necessary for PCB design.
In the software you use to design the circuit, you’ll have the option to enable grids. By doing so, you’ll see that you’re given a mesh with multiple divisions. Each segment or grid is equidistant from the other. These grids will make life much easier for you.
Grids help designers ensure proper orientation of electronic components on the PCB. You can easily measure the distance from one component to another with the help of these grids. Thus, they’ll help you strike a balance in your design.
You can also use the grids to draw connections as you like. The components don’t always need to follow a rigid structure or balance on your PCB. However, you need to place them so that they are not overlapping or interfere with another component or connection.
3. Calculate Track Widths

Tracks act as wires that allow electric current flow in your circuit. These tracks run throughout the PCB to provide electricity to the components and carry necessary signals to and from them.
When designing a PCB, you must keep the track widths in mind and calculate them accurately. Any deviation from this will lead to poor conduction or render the circuit useless. Wrong track widths might even burn out the components.
You can use the Digi-Key website to calculate your required track length. The website follows industry standards when it comes to calculating widths. You need to input parameters like current values, copper wire thickness, temperatures, and track lengths. The website will do the rest and give you the track widths.
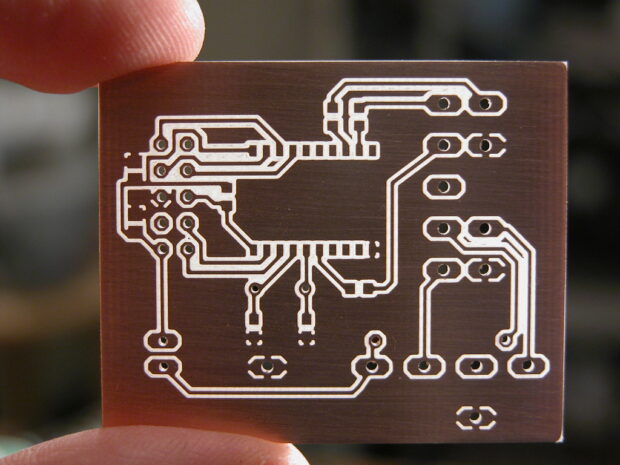
4. Leave Some Gap Near the Edges and Corners
Most beginners make a common mistake designing the whole PCB right up to the edges. That means they don’t leave any gap near the edges and corners. Digitally, it seems nice to avoid these gaps. It makes for a seamless look. However, not leaving gaps in those areas will cause problems when printing the PCB.
It makes no practical sense not to leave gaps near the edges and corners. That’s because many PCBs require mounting points in those areas. So, when you print the board, you can utilize those gaps to drill screw holes. Then, you can attach the board via those holes to whatever project you’re working on.
Assuming that you forgot to leave these gaps or holes, you’ll have to find an alternate way to mount your PCB. Usually, the only alternative way to do this is by gluing the back of the board onto your device or project. However, this is messy, and it can lead to other problems too. For instance, the glue might burn and render the PCB useless if the board gets too hot.
5. Simulation
Once you have the final schematic ready and the correct track widths, you can print out a prototype. Before that, however, you can run simulations via software like Fusion or Autodesk Eagle. The PCB is ready for printing as long as you get the results you’re looking for from these simulations. Otherwise, you’ll have to revise the design and then try again.
When running the simulations, you must ensure the following.
- Connecting the PCB to the ground and power sources will make it operational.
- Connecting to a voltage that’s more than the recommended one will make the PCB non-functional. Simulators don’t usually show you whether or not a high voltage source will burn your circuit.
- If you’re connecting sensors to your PCB, you’ll first have to run individual simulations and then simulate them together. That’ll allow you to understand whether or not they run properly in unison.
- Match your theoretical results with the practical ones. For instance, you designed a PCB that connects to an external circuit to measure current. So, first, build and calculate the current in that circuit with pen and paper. Then, run the simulations to cross-check the results.
By the time you’ve finished the simulations, you should have a list of the errors you’ve faced during the simulations. These could be individual sensor/component errors or larger system errors.
Once you’ve fixed the errors, you can print out the PCB prototype and try it out practically. Hopefully, things will work out fine if you’ve maintained the abovementioned aspects and have ensured proper connections throughout the PCB.