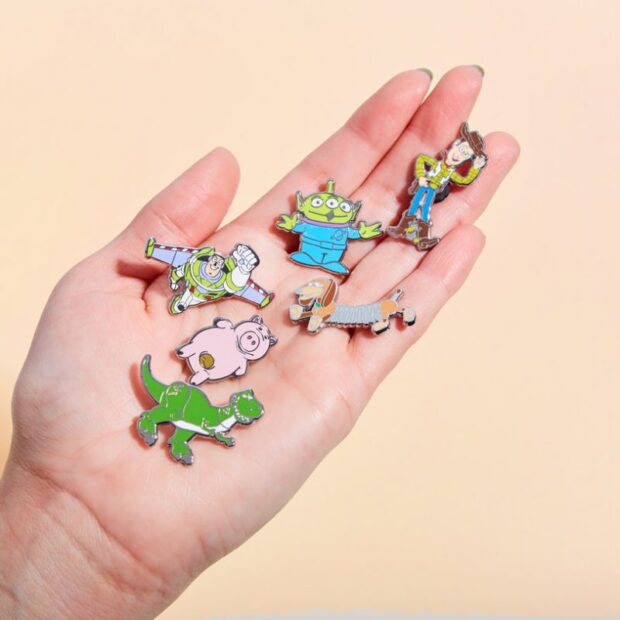
Enamel pins are wonderful additions to your everyday attire, but they can also be used as accessories to various other things such as belts, backpacks, and more. When we think of enamel pins, we are quickly associated with the idea that they are used to represent something. While it might look like it at first, this isn’t often the case. However, representing organizations, movements, and even political parties, still makes the primary use of enamel pins.
Designing enamel pins, on the other hand, is very fun, but it involves a couple of steps in order to get to the finished article.
In this article, we will try to explain the designing process, as well as, tough on the manufacturing part.
Designing Process of Enamel Pins
The simple version of the designing process goes as follow:
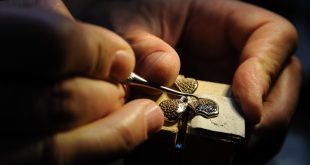
Idea: Every enamel pin starts with an idea, a picture, an artwork, or a sketch of the design in question. Start by drawing what you want to be created into an enamel pin; this is always the first step.
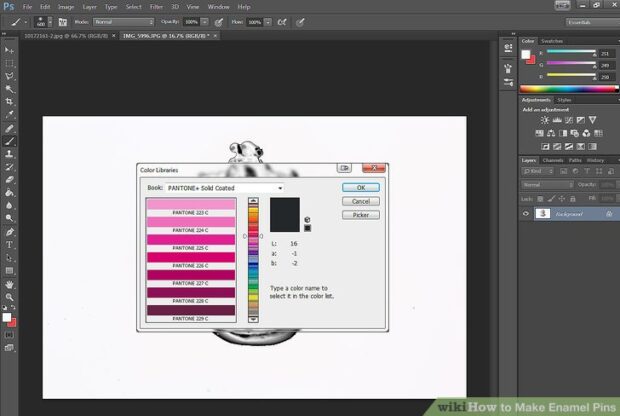
Sample: The next step is to transform the idea into a digital sample. Your idea or specification can be improved a lot if you simply have a sample in front of you that will act as a prototype for the finished article.
Creation: Once you’ve modified everything there is to it, you can start production of your desired enamel pin. Upon inspection, you can make sure that everything according to the design is in order.

Useful Design Tips for Enamel Pins
Below we will give you a few of the most important design tips for enamel pins:
- Linework
The linework is what separates the colors, so the linework must be crisp and connected, according to enamelpins.com.
- Simple Design
Your design must be simple because working on a surface that’s 1 or 2 inches in size is hard enough. Too many lines can make it difficult for the colors to be properly poured.
- Avoid Small Text
Similarly as before, working with small text is very difficult when working on a pin that is 1 or 2 inches in size.
- Bold Lines and Colors
It’s advised that you use bold lines, as opposed to thin lines because people won’t be able to see the details from afar.
Manufacturing Enamel Pins
Before you start creating enamel pins, you have to make your mind upon the type of enamel pin. Namely, there are soft and hard enamel pins, each one has different benefits, and each one uses different materials.
Creating these pins is best done through a computer, due to the various benefits at hand. These pins are created through CNC machines, which can be operated through a computer. Computerizing the CNC machines makes it easier for the person to operate set machines.
These pins are created with molds, where the design is placed on a sheet of metal. Rubber is used to make the rubber mold, which is placed into the cavities created. Various other machines are used in the manufacturing process that makes the finishing touches before the pin is created. All of these machines are computerized for easier operating, and the technology used also makes it possible for large scale production of these pins.